
Different 10 Yoga Pose
Bound angle pose (Baddha Konasana)
The Bound angle yoga pose stretch improves blood flow, stimulates the digestive system, and helps you relax. It aids in labour preparation by increasing low back, hip, and inner thigh flexibility.
- Put something under your buttocks (a cushion, a block, a folded blanket) and lean forward so that your pelvis tilts forward.
- Squeeze your foot or feet together.
- To increase the depth of the stretch, move the feet closer to the hips.
- Keep your feet firmly planted on the ground and your spine elongated.
- Wrap your hands around your lower extremities, or interlace your fingers and pinky toes.
- Keep this posture for 60 seconds to a minute.
- Repeat thrice or four times.
Modifications:
To alleviate any pressure on your lower back, place a pillow or block beneath your knees and thighs.
Back yourself up against a wall of pillows. Rest your head on something as you relax comfortably.
Balasana, or the Child’s pose
Balasana yoga pose, or the child’s posture, is a calming yoga position that stretches the upper body, chest, and lower back. Spinal, hip, and thigh mobility are all enhanced.
- Prepare for action by getting down on all fours.
- Put the tips of your big toes together and your knees wide apart.
- Bring your tummy button back to your heels.
- Hold out your arms in front of you.
- Hold your breath and relax.
- Keep this position for as long as you can.
Modification:
- Prop your head up with a pillow or folded blanket.
- If you’re having knee pain or need extra room for your tummy, try spreading your toes.
Triangle Pose (Trikonasana)
The strengthening Triangle yoga pose (Trikonasana) releases tension in the neck and back while providing a jolt of energy.
- Just rise and go from there.
- Step forward with your left foot to open up your stance. Ahead-pointing toes on the left foot. Maintain a completely straight left knee.
- The right foot (the one in the rear) should be angled ever-so-slightly to increase stability.
- Hip flexors may be opened by turning the whole upper body to the right, starting from the centre.
- The left arm should be extended slowly toward the left ankle. Here, you may either put the left on a block within the left leg, on the left leg itself or on the floor.
- Place the right hand on top of the right shoulder. Palm on the right side of the body facing outward.
- Continue this position for 30 seconds.
- To be continued on the other side.
Adjustments:
- Shortening your stance might help you maintain stability.
- Practice this posture close to a wall for stability.
- When looking down or straight ahead, you’ll save your neck some strain.
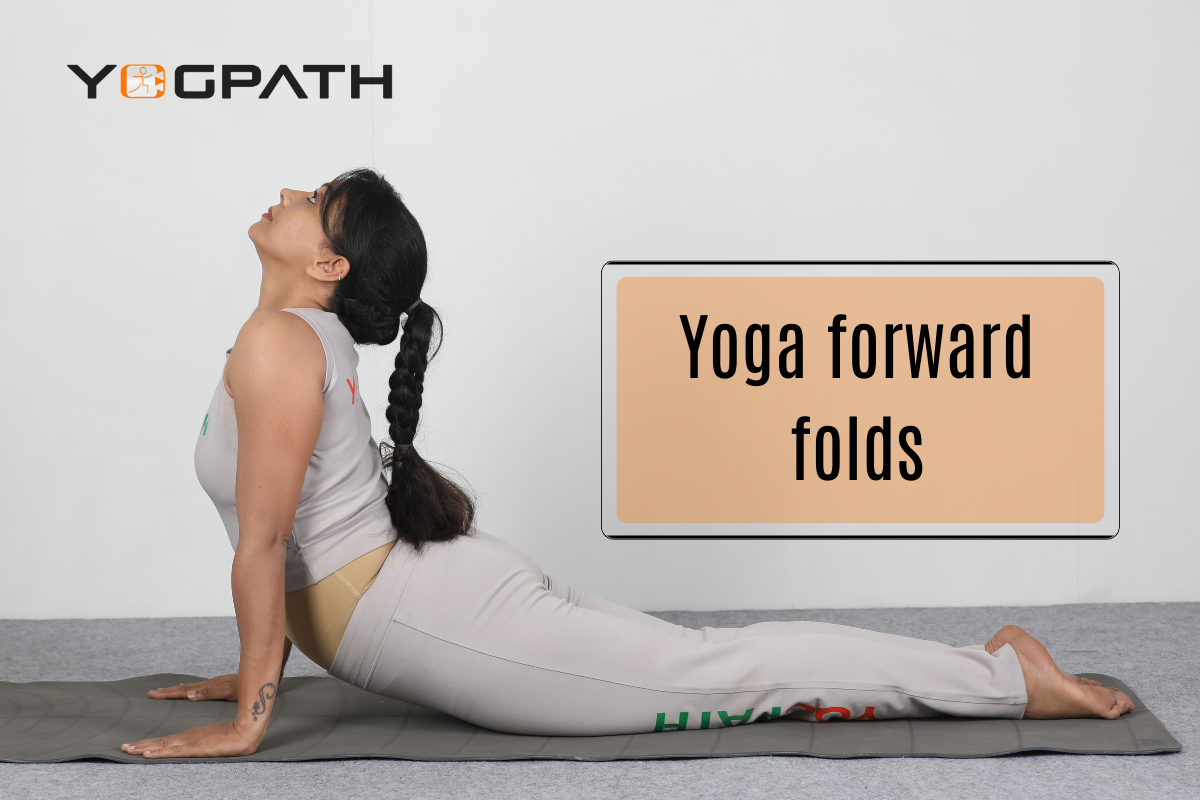
Standing forward bend (Uttanasana Yoga Pose)
The forward bend yoga pose in standing (Uttanasana) is a stressbuster that also helps you feel more at peace with yourself.
- Keep your feet a little bit wider apart than your hips.
- Turn your hips inward to stoop down.
- Tend to walk about with a little slant in your knees.
- Make a fist and place it on the ground or a block, or hold on to the outsides of your elbows.
- You should stay here for up to 30 seconds.
Pose yoga for the third trimester
Because your baby now occupies more room in your body, you may find it more challenging to breathe and move around freely. Relax, go at a slow pace, and nap as much as you wish.
The third trimester is the time to refrain from:
- High-intensity forward bends, twists, and backbends
- Inversions requiring powerful abdominal contractions (unless you’re skilled)
- Exercises that put a strain on the pelvic floor include laying on one’s back or one’s right side while doing squats, and leaping, hopping, or bouncing.
Warrior II (Virabhadrasana II Yoga Pose)
Warrior II yoga pose is a hip opener, heart strengthener, and circulatory booster. Also, it helps with back and neck problems. In this position, you may play about with where your centre of gravity is as you find the most comfortable alignment for your body.
- Take a backwards stride with your left foot while turning your toes outwards to the left.
- Place the inside of your left foot in line with the back of your right heel.
- You may do this by flexing your hips to the side.
- Lift your arms so that they are perpendicular to the ground, palms facing down.
- Keep the right knee bent and make sure it doesn’t go beyond the ankle.
- Look up and above your middle finger.
- Tend this position for 30 seconds.
- To be continued on the other side.
Adjustments:
- Practice this posture close to a wall for stability.
- Put the seat of the chair beneath your crotch.
- Reducing the angle at which your front knee bends, shortening your stance, or stepping your rear foot out to the side can all serve to lessen the intensity.
The Garland Position (Malasana Yoga Pose)
Opening your hips and stimulating your digestive system, the garland position (Malasana yoga pose) is a deep squat. If you have a history of prolapse, you should not assume this position.
- Keep your feet a hair’s breadth apart and your toes pointed slightly outward when you stand.
- Reduce your hips and knees to the floor slowly.
- Put your heels up off the ground or raise them.
- Meet palms in the middle of your chest and press them together.
- Squeeze the elbows into the knees.
- Stay here for up to 30 seconds.
Adjustments:
- Sit on a block or a pile of pillows.
- Get yourself balanced by standing close to a chair or wall.
- You may prop your feet up with a folded blanket.
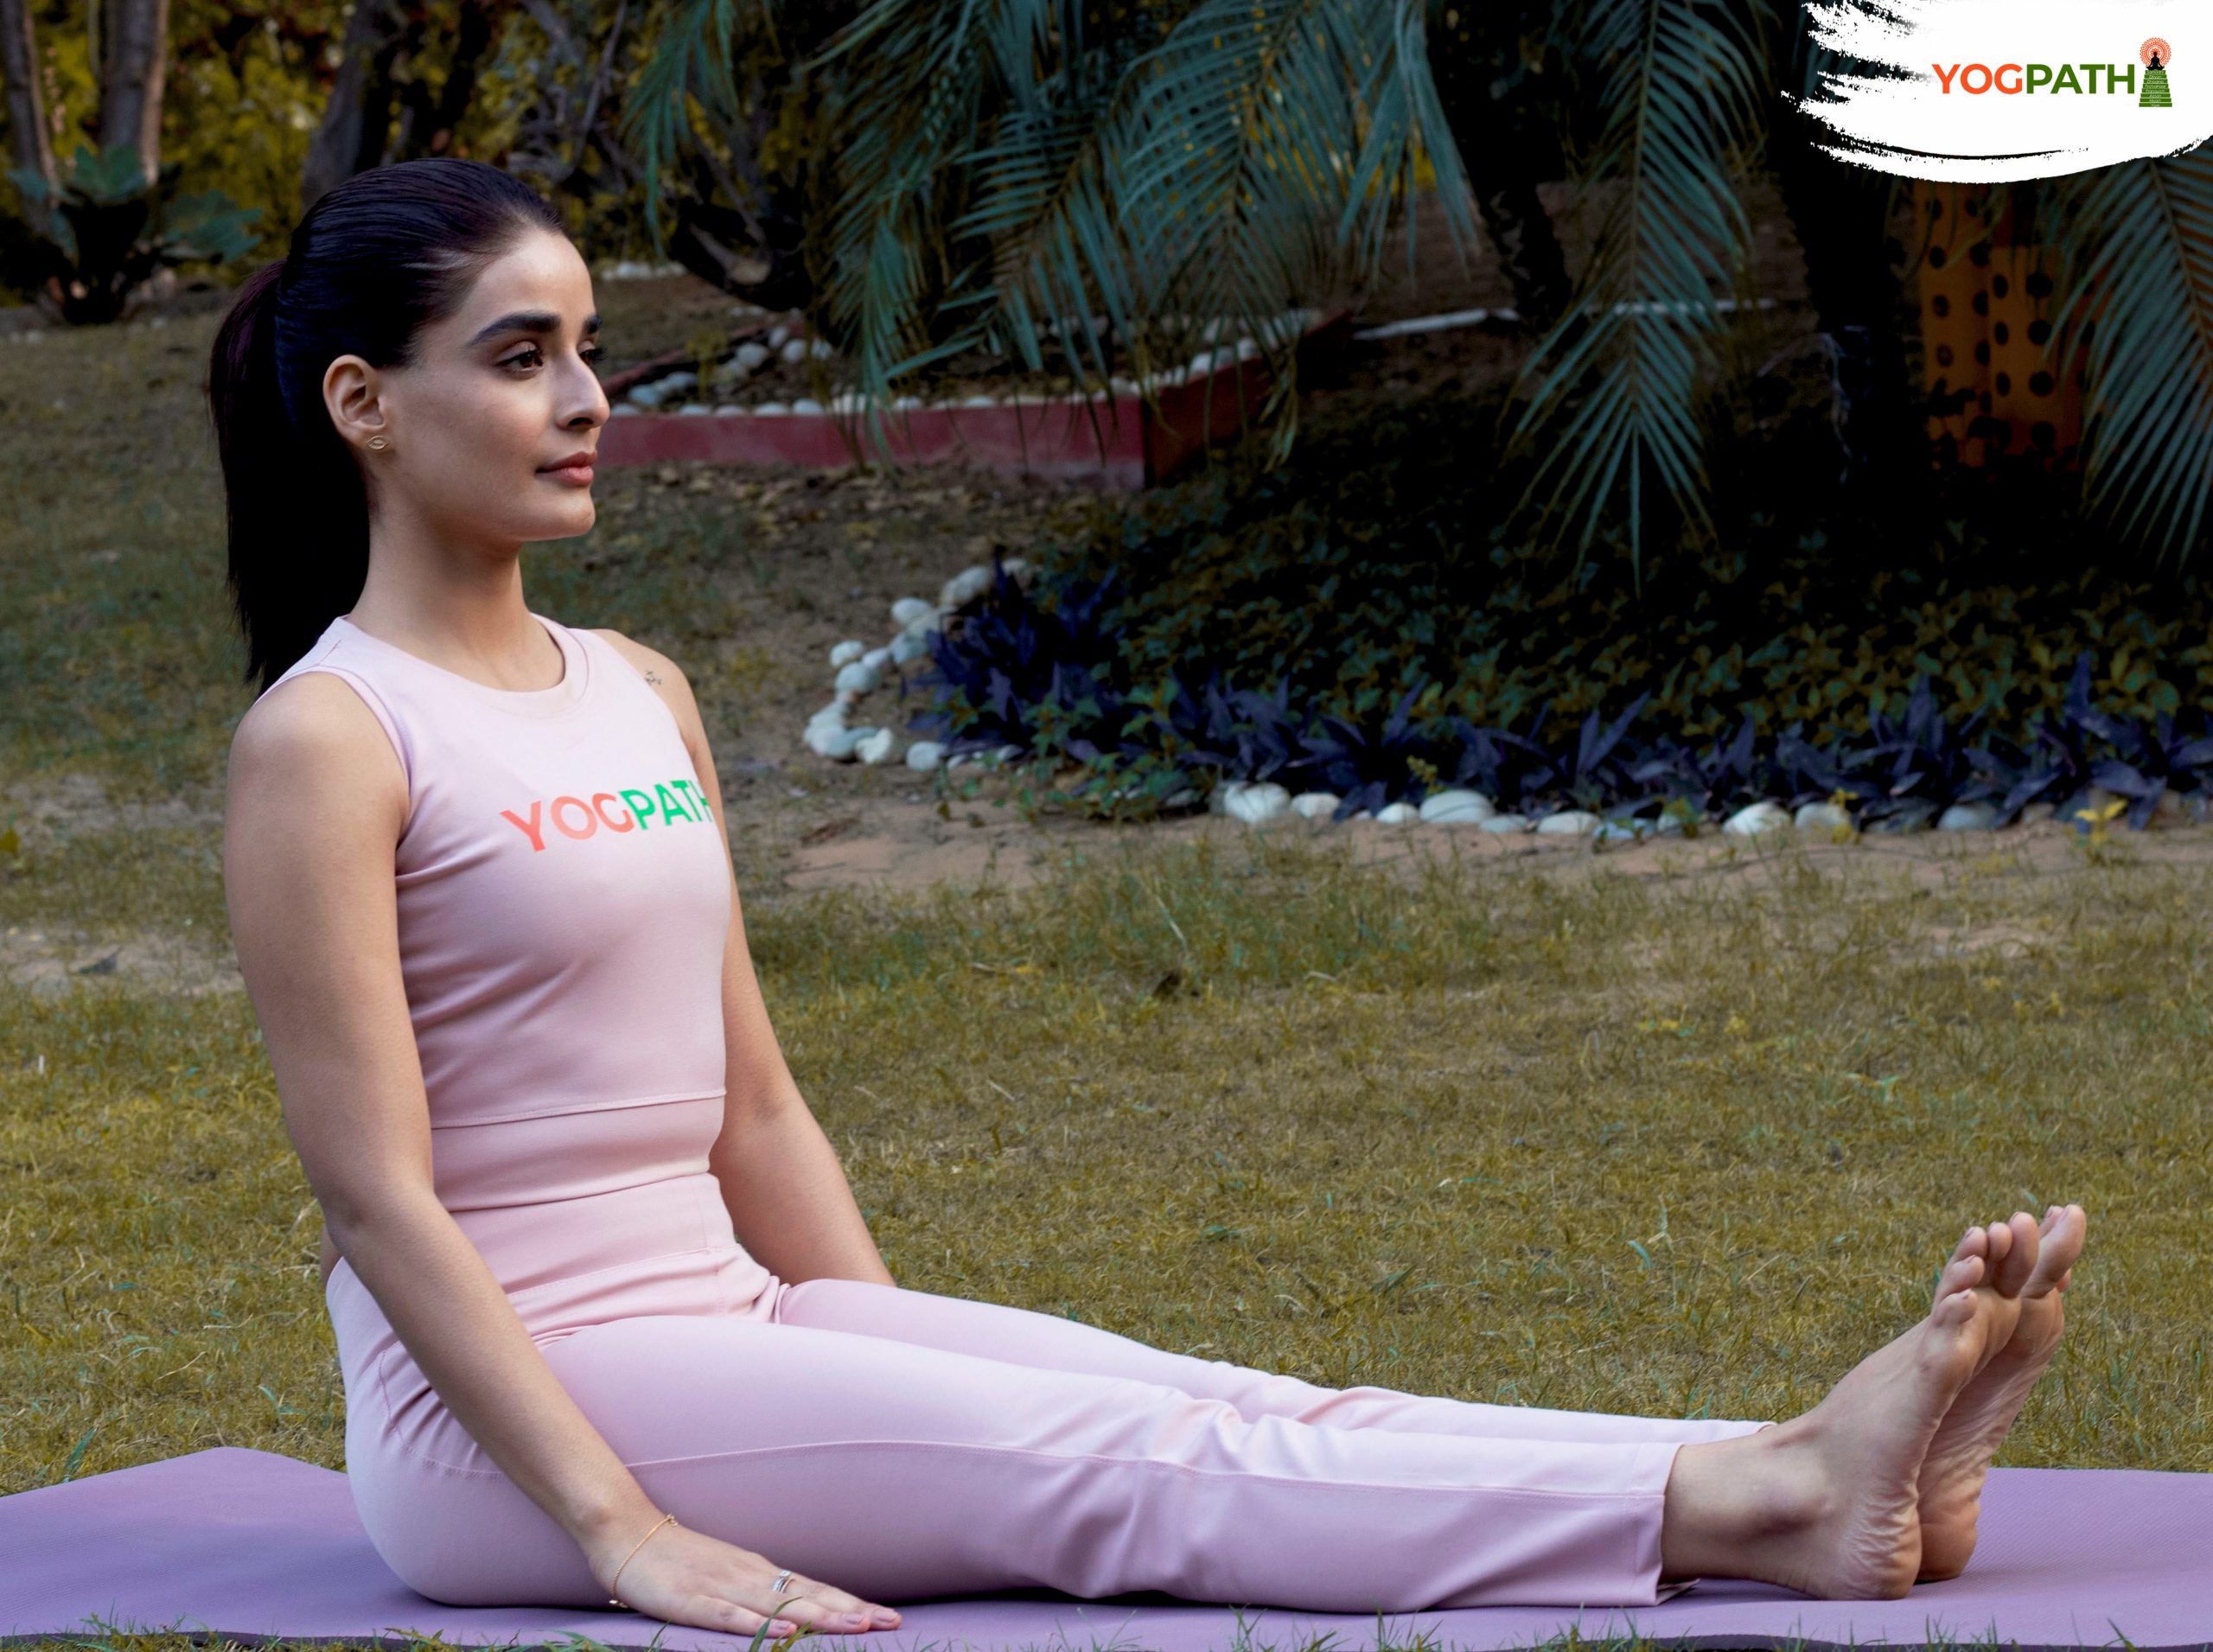
Easy pose (Sukhasana Yoga Pose)
Sukhasana yoga pose, often known as the “easy pose,” is a sitting yoga pose that is great for your back, hips, and mind.
- Put something under your buttocks (a cushion, a block, a folded blanket) and lean forward so that your pelvis tilts forward.
- The right leg should be crossed over the left.
- Hold hands in a posture that feels good.
- To relax, shut your eyes and take a few deep breaths.
- Keep this posture for 60 seconds to a minute.
- To be continued on the other side.
Alterations:
- Use pillows or blocks to elevate and support your knees.
- Leg in front of the other might be more relaxed.
- You may give your back some much-needed support by sitting with your back against a wall.
The Side Corpse Pose (Parsva Savasana)
This restorative position, the side corpse yoga pose (Parsva Savasana), is great for reducing stress and facilitating relaxation.
- Relax on your left side.
- Keep your left leg straight.
- Curl your right toe under a pillow and prop up your bent knee.
- You should rest your head on a pillow.
- Spend 15 minutes here chillaxing.
Yoga benefits in Pregnancy
The emotional and physical health advantages of yoga during pregnancy are substantial. You’ll learn to recognise the shifts in your physical and mental states as they occur. Prenatal yoga is a useful method for alleviating stress during pregnancy. As a bonus, yoga has been shown to enhance sleep and decrease tiredness, leading to a more invigorated day. The physical and mental toughness you get from prenatal yoga will serve you well throughout your whole pregnancy and after you give birth.
The current study’s findings suggested that regular yoga practice could help pregnant women achieve a healthy birth weight, have babies with higher Apgar scores, and have fewer complications during labour and delivery. As your baby grows, there is less room for your digestive organs, thus several yoga pose are designed to help. One further way in which yoga helps with inflammation and swelling is by increasing blood flow to the affected areas, notably the joints.
Gaining a deeper understanding of your body might help you move with more mindfulness. This will help you maintain an upright posture when carrying your infant and will strengthen your spine. Balance and stability will improve as you learn to adapt to shifts in your centre of gravity.
Pregnancy yoga: Potential risks and benefits
It’s important to do prenatal yoga the right way, which means avoiding or adjusting certain positions. Listen to your intuition about what is right for you in the present moment; you know yourself best. Don’t overdo it, and slow down if you start to feel hot. Do it at a slower pace than you’re capable of.
Pick on a class and a set of postures that will strengthen you while also giving you a chance to unwind. Take your time entering and exiting positions to prevent breath retention. Check your breathing to make sure you can comfortably hold each posture.
Turn your torso at the shoulder or chest level. Avoid twisting from the abdomen or the base of your spine; doing so puts unnecessary strain on the abdominal organs. Keep your head up and forward as you bend forward. Rest your head on your hands or an object instead.
If a certain yoga pose causes you pain or puts undue strain on your stomach, it’s best to avoid it. To prevent injury or discomfort, adjust your practice accordingly. If you need help standing up or maintaining your balance, lean against a wall or a chair.
Consult your physician or a trained yoga teacher if you develop any concerning symptoms before resuming your practice.
Cancel your workout if you notice any of these problems:
- Feel nauseous or dizzy;
- Be feverish or thirsty;
- Have unusual vaginal discharge, spotting, or bleeding;
- Suffer numbness in the hands or feet;
Bottom Line
Prenatal yoga pose may be a great way to take care of yourself and relax. Take note of how your back, stomach, and pelvis feel in particular and act accordingly. Don’t overstrain yourself, and take breaks whenever you need them.
Consult your doctor before beginning prenatal yoga pose, particularly if you are experiencing a high-risk pregnancy, your baby is breech, you are carrying twins, or you are new to exercise, or medication, or have any other health issues. Practising yoga while pregnant has been shown to have positive effects on both the mother and the baby.

