Discomfort in the neck is extremely frequent, and there are several potential causes. In this article we will discuss about Yoga poses for neck pain. Repetitive forward motion, poor posture, and prolonged periods of maintaining the head in one position are all examples. It doesn’t take much for this place to become painful, and that discomfort can quickly radiate to the rest of your body. Pain in the neck is a common source of headaches and other symptoms.
Regular practices of yoga poses
It has been scientifically proven that regular yoga practise is an effective method for relieving neck pain. One study indicated that those who practised yoga poses for nine weeks saw improvements in pain and function. You can learn to let go of stress and tension in your body via regular practise. Even persistent neck discomfort may benefit from yoga.
Stress-relieving yoga pose
If you suffer from neck pain, you may find the following yoga poses helpful.
- Standing forward bend pose
- Put your feet directly beneath your hips and stand up straight.
- Extend your body while bending forward at the waist, preserving a small bend in your knees.
- Place your palms on the floor, a block, or your legs.
- Relax your head and neck by tucking your chin to your chest.
- Smooth head movements from side to side, front to back, or slow circles will suffice. The strain on your neck and shoulders will diminish as a result of this.
- Remain in this position for at least a minute.
- As you roll your spine to standing, bring your arms and head up as a last step.
Warrior II yoga pose
- Warrior II helps you broaden and strengthen your shoulders and chest, which in turn provides support for your neck.
- From a standing position, swing your left leg back such that your foot points out to the left.
- Put your right foot in front of the other.
- Your left foot’s inside must face the same direction as your right foot.
- Raise your arms so that they’re parallel to the ground, palms facing down.
- You should carefully bend your right knee so that it doesn’t stretch forward past your ankle.
- Extend your spine by pressing down onto both feet.
- Keep your gaze far beyond your right hand.
- Hold for thirty seconds.
- First finish one side, then move on to the other.
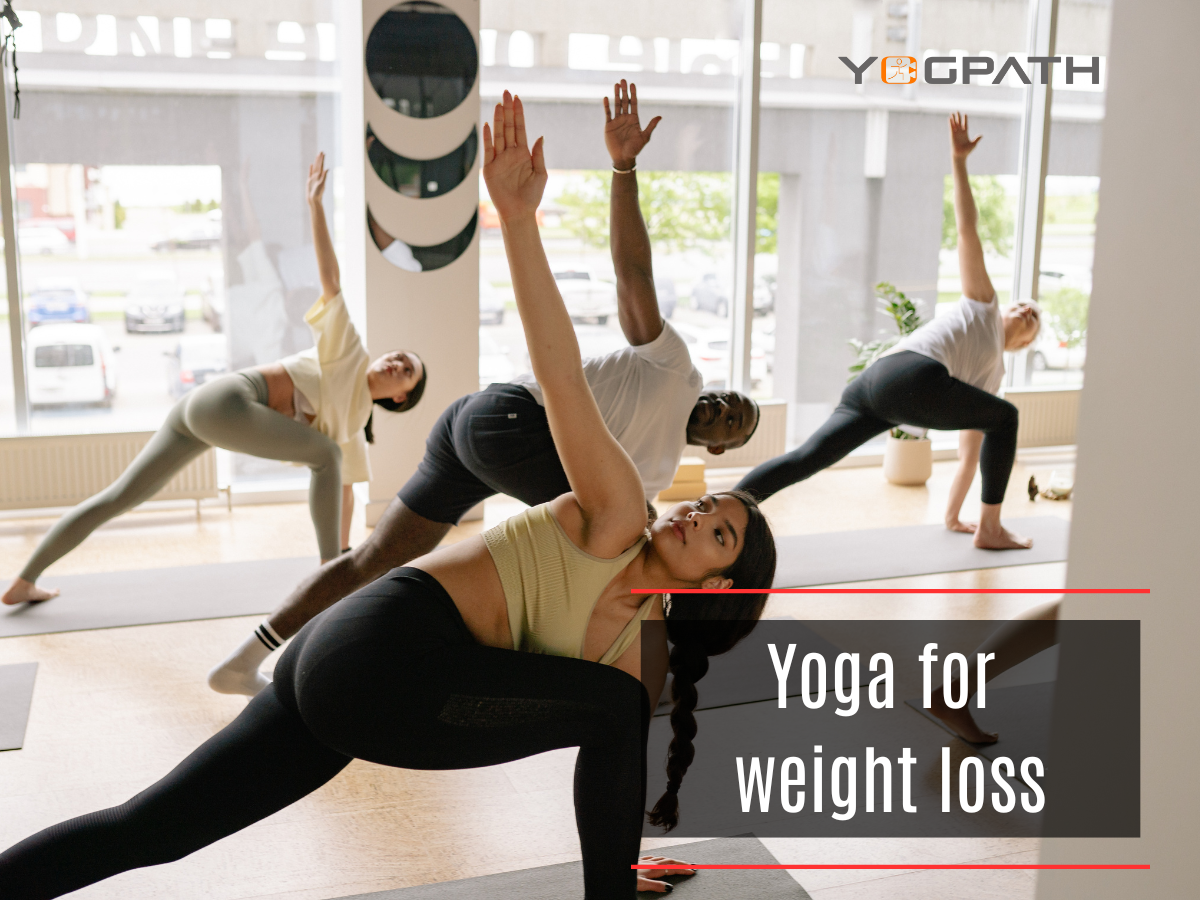
Extended triangle yoga pose
- Pain and tension in the neck, shoulders, and upper back are all reduced when you strike a triangle position.
- In order to get your feet wider than your hips, you can either jump or step.
- Angularly point your left foot outwards and your right foot forwards.
- Raise your hands palms down until they are parallel to the ground.
- Hinge at the right hip and reach forward with the right arm.
- From here, you should bring your right arm down and raise your left arm overhead.
- You can look about in whatever direction you like, or you can execute slow neck rotations while gazing up and down.
- Hold for thirty seconds.
- After that, do the opposite side.
Cat cow yoga pose
- Relax by doing some neck stretches to feel the tension melt away.
- Put your hands under your shoulders and your knees under your hips to get into an all-fours position.
- When you take a deep breath in, your stomach should expand and fall toward the ground.
- Relax your head back and gaze at the ceiling.
- Don’t move your head or just droop your chin down.
- While letting out your breath, glance over your right shoulder.
- Take a few moments to fix your attention here before bringing it back to the middle.
- Hold your breath and glance over your left shoulder.
- Take a moment to rest there before coming back to neutral.
- From this position, curve your back and tuck your chin into your chest.
- Keep your head hanging low in this position.
- Try moving your head from side to side and back and forth.
- After attempting these modifications, hold cat cow stance in continuous motion for at least a minute.
Thread the needle yoga pose
- Your neck, shoulders, and back will thank you for striking this stance.
- Assume a position on all fours, with your hands under your shoulders and your knees under your hips.
- Raise your right hand so that the palm is facing up, then slide it across the floor to the left.
- While leaning on your right shoulder and looking to the left, press your left hand into the floor for support.
- For the next 30 seconds, hold this position.
- Releasing slowly, return to Child’s Pose (see below) for a few breaths, and then switch sides and do the same.
Cow face yoga pose
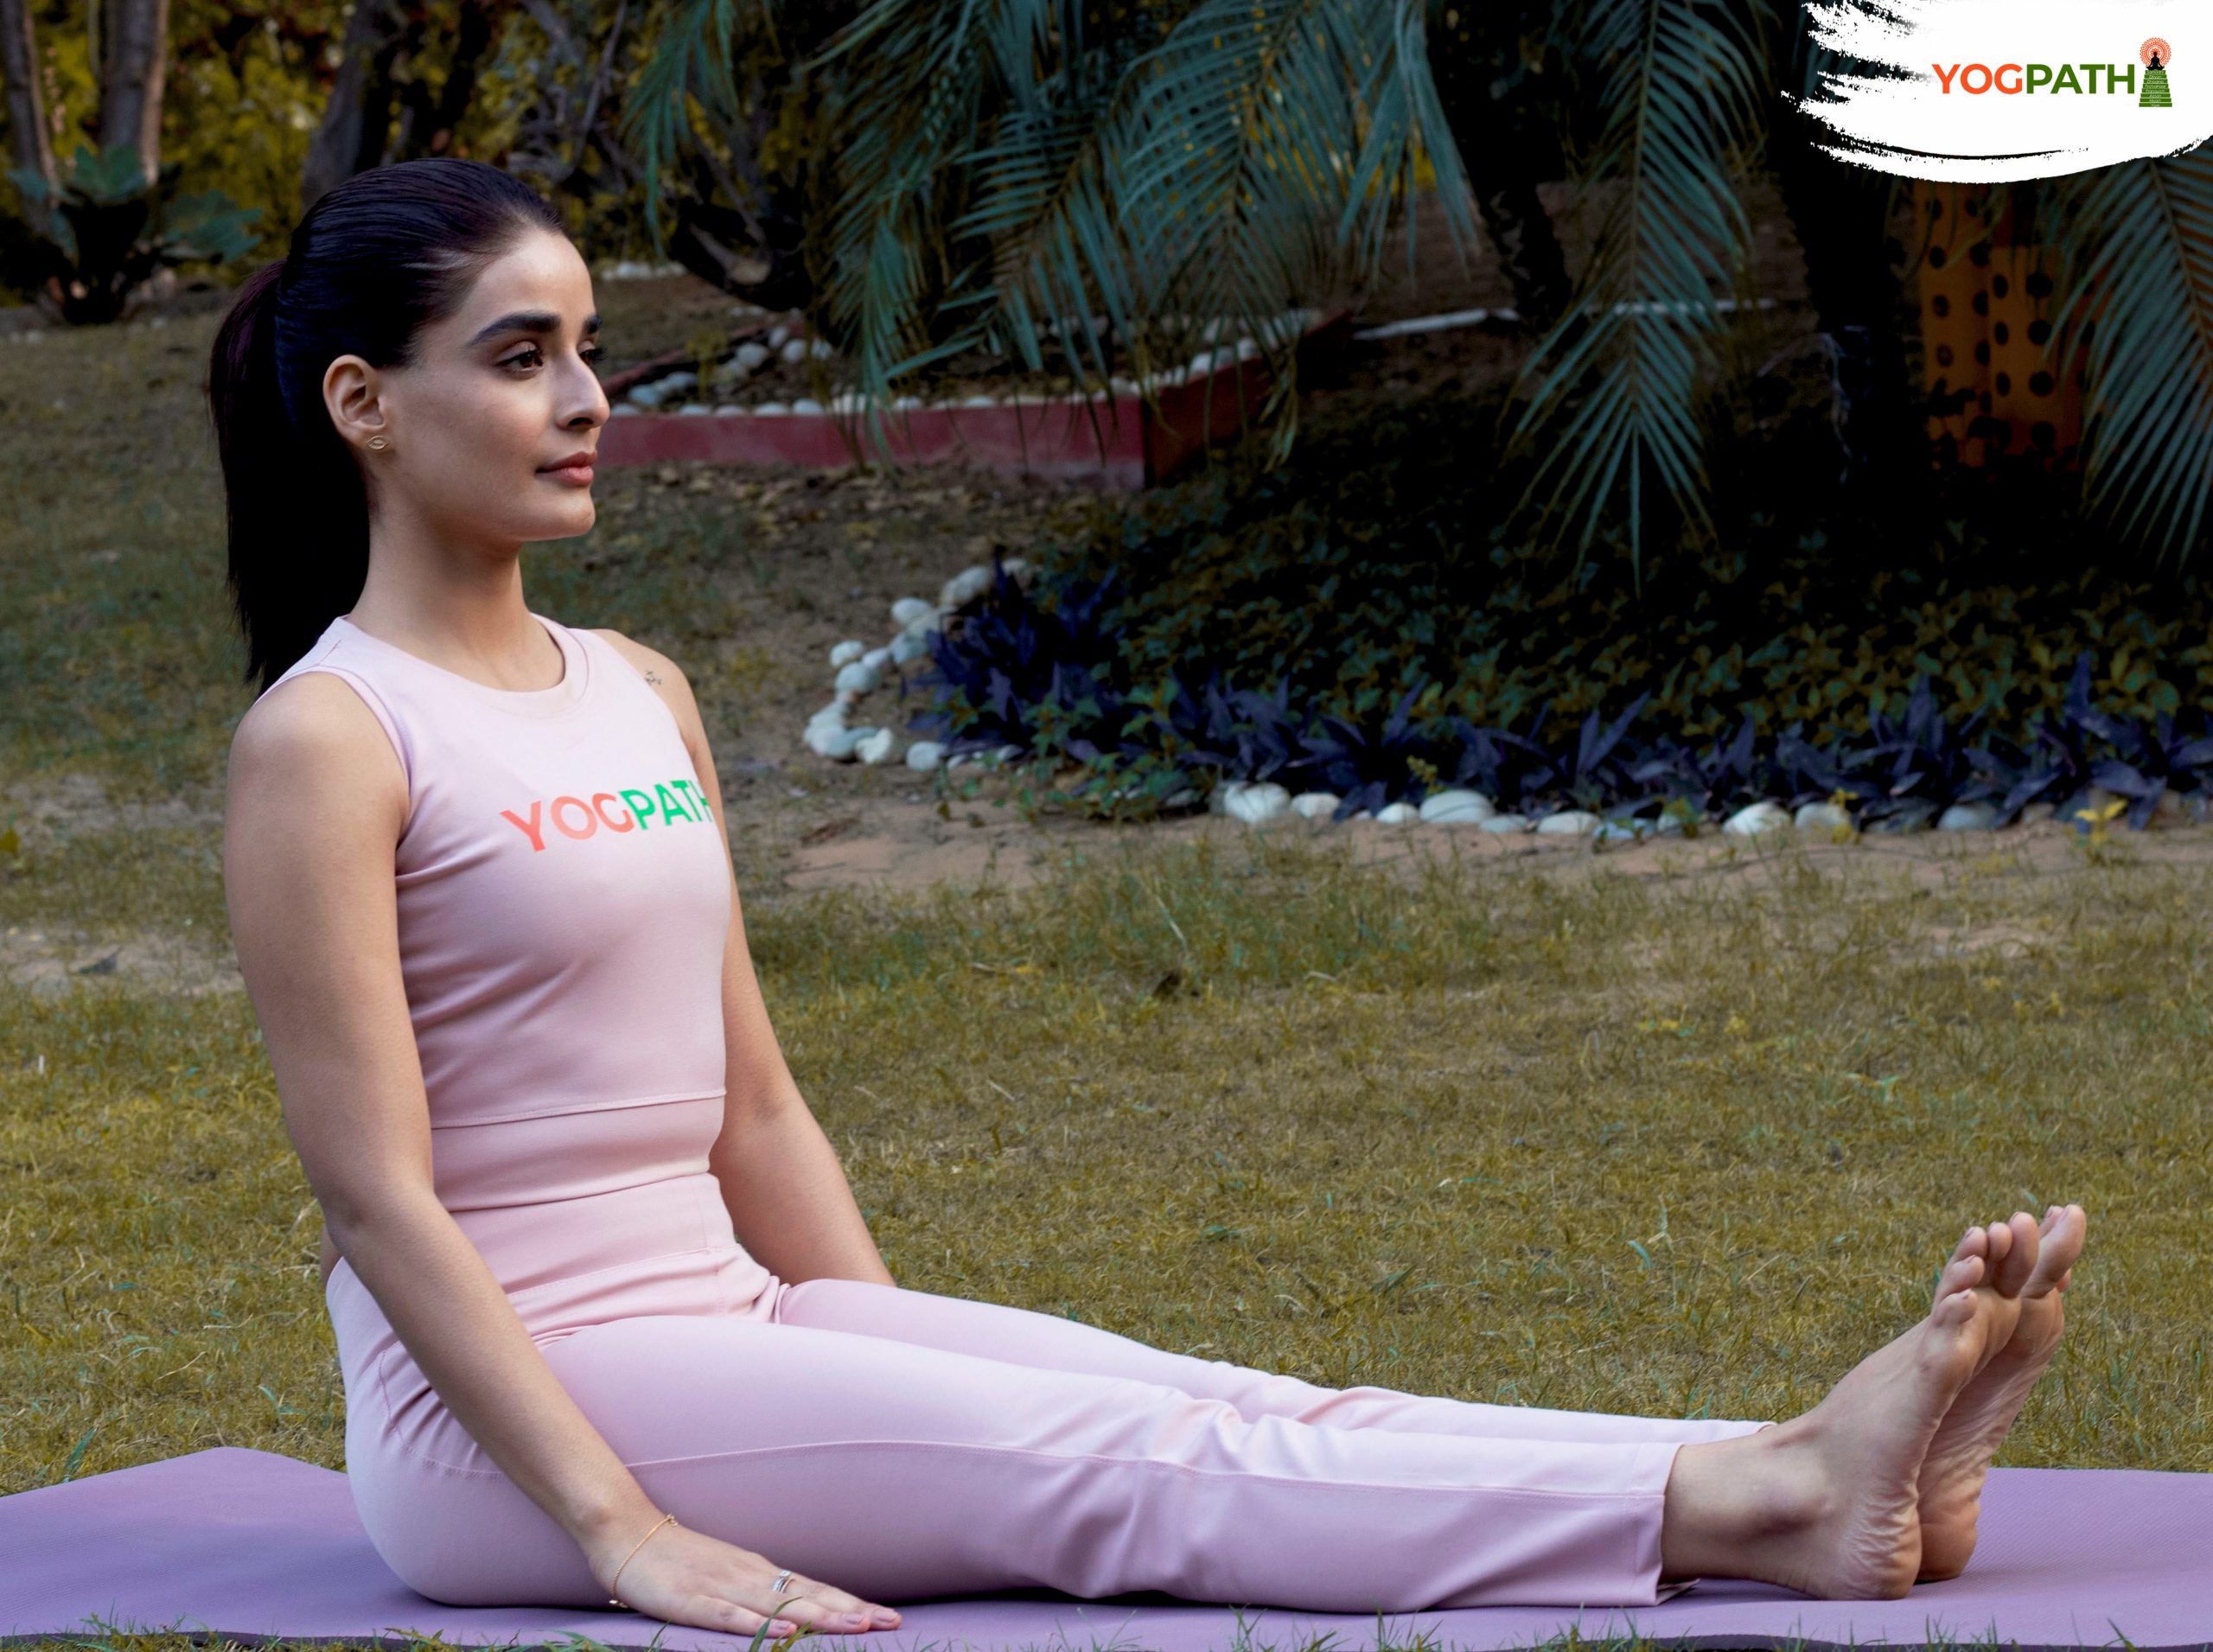
- Cow face position is a great way to loosen up your upper body and breathe easier.
- Please take a seat and relax.
- Put your left hand behind your back by bringing your elbow up and bending your arm.
- You can either reach up with your right hand and grasp your left hand, or you can gently pull your left elbow over to the right, using your right hand.
- Hold for thirty seconds.
- After that, repeat the same for the other side.
Half lord of the fishes yoga pose
- Spine, shoulders, and hips all get a good stretch with this twist.
- Sitting, cross your right leg over your left hip using the floor as a guide.
- In this position, your left foot will be “rooted” into the floor on the outside of your right thigh.
- Stretch your back out and rotate your upper half to the left.
- Get down on one knee and put your left hand on the floor directly below your backside.
- Raise your right hand so that it rests on the outside of your left thigh.
- Look over one or both of your shoulders, or roll your neck slowly forward and backward.
- Hold this position for one minute.
- Once you’re done on that side, move to the other.
Sphinx yoga pose
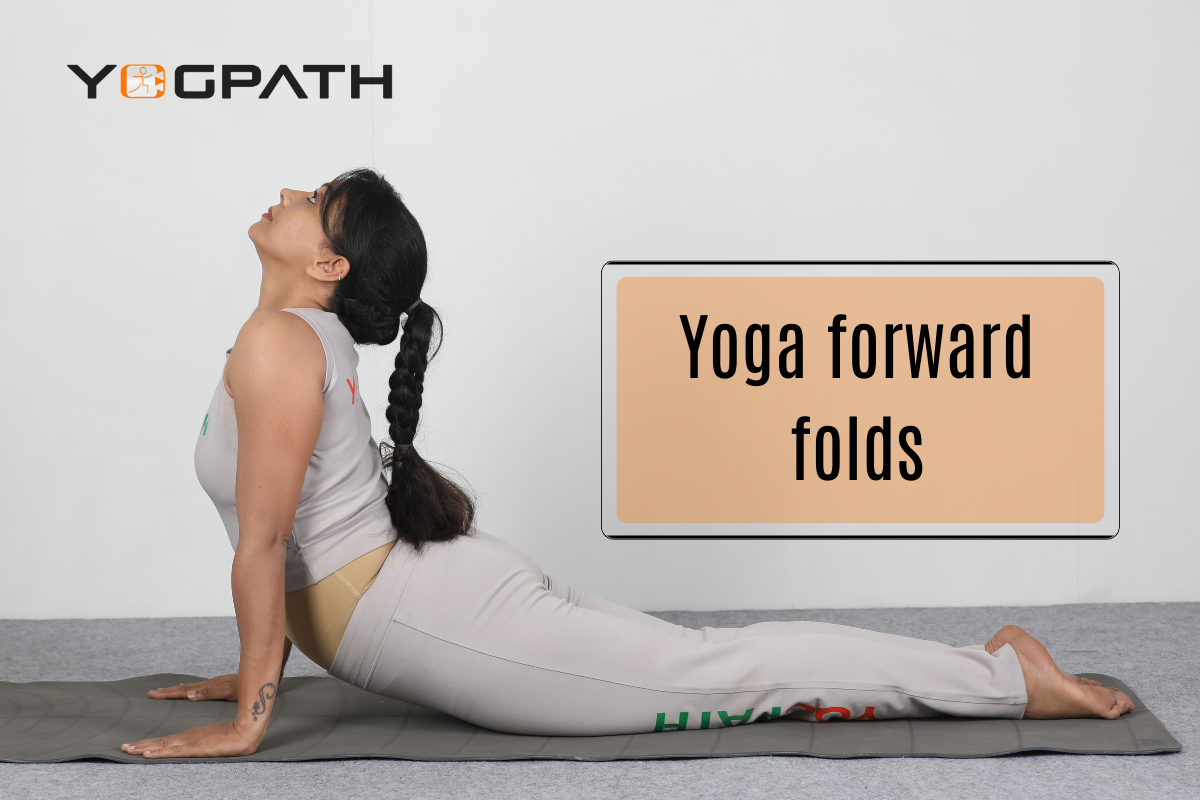
- Sphinx position helps you build core strength and open up your shoulders.
- Place your elbows beneath your shoulders and squeeze your shoulders into your palms and forearms.
- While raising your upper body and head, tighten your lower back, buttocks, and thighs for stability.
- Focus your attention forward and make sure your spine is elongated.
- Spend two minutes in this position.
Extended puppy yoga pose
- To relax and extend the back and shoulders, strike this stance.
- Starting on all fours, align your wrists beneath your shoulders and your knees under your hips.
- Move your hands forward while taking a little step forward with your feet, and rise up onto your toes.
- To do this, lower your buttocks toward your heels slowly and pause halfway down.
- Raise your elbows and maintain a firm fist.
- Put a blanket or the floor under your head to relax.
- Let your neck completely unwind.
- Holding a slight swayback, bring your hips down into your heels while pressing into your palms and stretching your arms.
- Stay put for a full minute.
Child’s yoga pose
- Child’s position is useful for alleviating both headaches and neck pain.
- From a kneeling posture, you can sit back on your heels while adjusting the angle of your knees.
- For a forward fold, lengthen your spine and walk your hands in front of you while hinging at the hips.
- You can rest your head on a stack of hands or keep your arms outstretched in front of you to keep your neck comfortable. Possible benefit for reducing stress related to headaches. If it’s more relaxed for you, rest your arms along your body.
- Take a few deep breaths and concentrate on relaxing any muscle tension or tightness you may be carrying.
- Enjoy a few minutes of rest in this position.
Legs-up-the-wall yoga pose
- You should expect significant pain relief from holding this restorative pose, especially in your back, shoulders, and neck.
- First, sit down and scoot your hips forward until you’re facing a wall. Lie back with your legs up against the wall and your back against the wall.
- Support your hips by placing a folded blanket or cushion there.
- Put your arms where they feel most at ease.
- A soothing massage of the face, neck, and shoulders could do the trick.
- Hold this position for as long as 20 minutes.
Corpse yoga pose
- Let yourself unwind in corpse posture at the end of your yoga session. Relax and let go of all the tension and stress you still feel.
- Lay on your back with your feet spread just wider than your hips.
- Put your palms up and rest your arms at your sides.
- Make sure your head, neck, and spine are in a straight line.
- Try to relax your body and mind by breathing deeply.
- For at least five minutes, hold this position.
Simple Tips
Since each of these yoga poses are tailored to alleviate a different condition, it’s vital that you keep in mind the following guidelines:
- Keep in mind that your body goes through daily adjustments. Make any required alterations to your routine, and stay away from any postures that make you feel unwell.
- In order to move gently and fluidly, you should let your breath serve as a guide.
- You should only only go as far as you feel comfortable, and never force yourself into an uncomfortable position.
- Do your best to enrol in a few yoga lessons at a local studio if you’re a beginner. There are alternative options, such as taking guided classes over the internet, if this is not feasible.
- All three of the yoga practises known as “Hatha,” “Yin,” and “Restorative” can help alleviate discomfort in the neck. Doing rapid, strong yoga is dangerous unless you have experience.
- Have compassion and kindness for oneself. Have fun with learning and doing, and be kind to yourself no matter where you are each day.
- Yoga should be practised daily for at least ten to twenty minutes, even if just to unwind in a few calming positions.
- Maintain an alert awareness of your posture at all times.
- If you’re not feeling well, it’s time to consult a doctor.
- If your neck pain persists despite your best efforts, or if it worsens or becomes severe, medical attention should be sought. If your neck pain is accompanied by tingling, weakness, or a stabbing pain in the shoulder or under your arm, it’s time to make an appointment with your doctor.
- Finding out whether there are any underlying causes of the pain is something your doctor can help you with. Perhaps they will suggest a specific course of treatment for you to complete. A physical therapist may be recommended as well.
