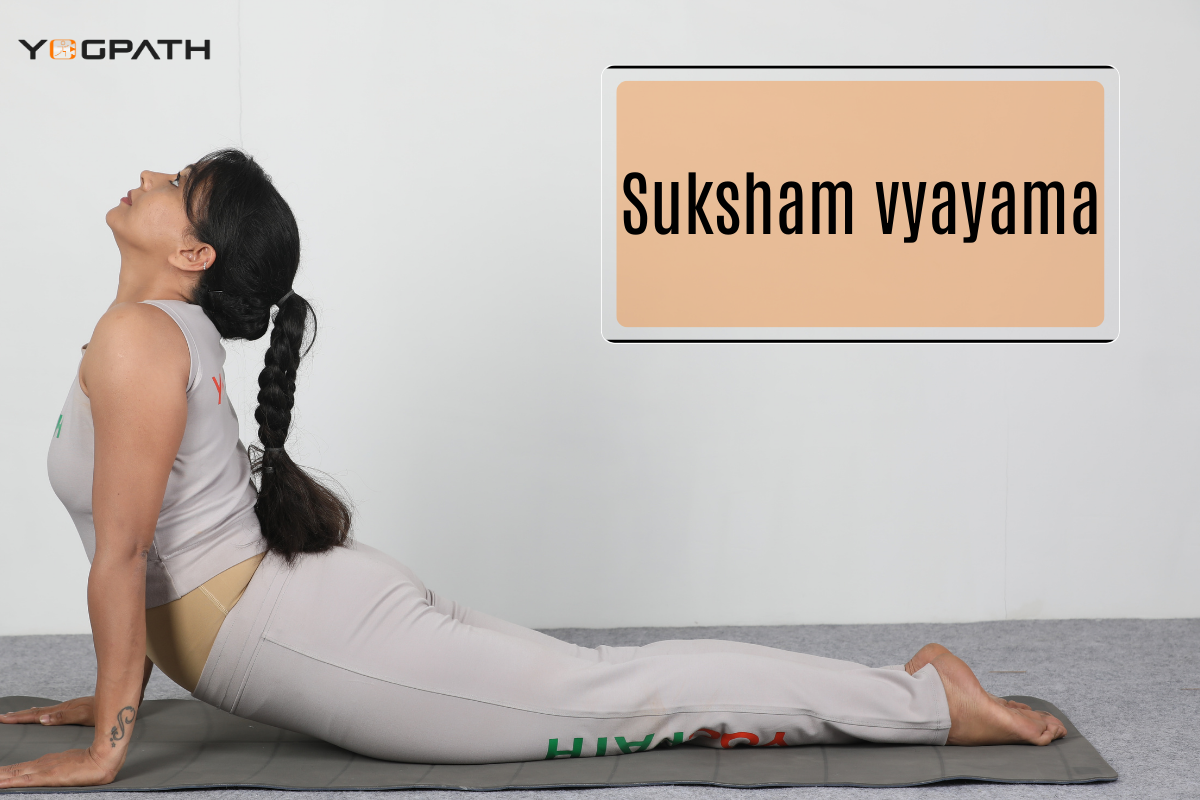
How Suksham vyayama Helps in Flexibility: Most pranic obstructions, according to yoga teachings, originate in the joints. According to Ayurvedic theory, our poisonous and undigested waste material, known as ama, collects in the empty spaces of our body, the joints. It is for this reason that we engage in Sukshma Vyayama, the purging of all such negativity from the system.
Our joints provide us with movement by joining two bones and allowing us to move. Cartilage and synovial fluid are also found in our joints to avoid the rubbing of bones and the subsequent wear and tear. When this cartilage deteriorates as a result of age, accident, or general wear and tear, we start to feel the aches and pains of conditions like arthritis.
Know about Suksham vyayama
Sukshma Vyayama is a set of yoga postures and breathing exercises that help you feel more mobile by opening up your joints and clearing your energy channels. The powerful detoxifying effects of this system help to increase one’s vitality.
Safe, rhythmic, and repeated stretching motions timed to the breath are the foundation of the Yogic Sukshma Vyayamas (Loosening and Strengthening Practices). These routines are excellent for increasing mobility in the joints and fortifying the muscles that surround them.
Swami Dhirendra Brahmachari popularised an old method of yogic postures and dynamic movements called Sukshma Vyayama. Swami Dhirendra was a disciple of Maharishi Kartikeya and went on to become an outstanding yoga instructor in his own right. He was called by the Soviet Union to teach yoga to its cosmonauts, and he also trained Indian Prime Minister Indira Gandhi. In reality, he established the Vishwayatan Yogashram, which was afterward renamed the Morarji Desai National Institute of Yoga.
The subtle pranic body is energised via the practice of yogic Sukshma Vyayama, which is why it is regarded as such a potent kind of yoga. Improvements in memory, intelligence, and willpower, as well as enhanced perception, are just a few of its many advantages. That’s why a lot of people do these moves before sitting down to meditate. The absence of asana practice is rationalized by the presence of these kriyas.
Joints benefit greatly from simple, mild motions because they increase blood flow to the cartilage, ligaments, and other elements of the joint. Morning time is optimal for these joint motions. Furthermore, they aid in the removal of waste from the synovial fluid around the joints. The fact that every muscle, joint, and organ in the body is attended to is the most notable and remarkable feature of Yogic Sukshma Vyayama.
Sukshma Vyayama has several key characteristics or aspects, includes
- Paying attention to your breathing.
- Focusing on targeted joint healing and strengthening.
- Coordinate breathing with the motion of those joints.
Benefits
The Sukshma Vyayama has several positive effects, including.
- Releasing muscular tension and blockages and enhancing flexibility.
- Better able to move about and be more flexible.
- Enhances balance and coordination.
- Increases blood flow.
Instructions for Performing the Joint Activation Techniques of Sukshma Vyayama and Kriya Yoga
The Sukshma Vyayama and Kriya yoga practices have inspired many of the joint activation motions. The toes are the first joint we examine, and we work our way up to the head and neck. You should repeat each dynamic movement 5–10 times, and each static movement for 5–9 breaths.
- Parts of the Lower Body
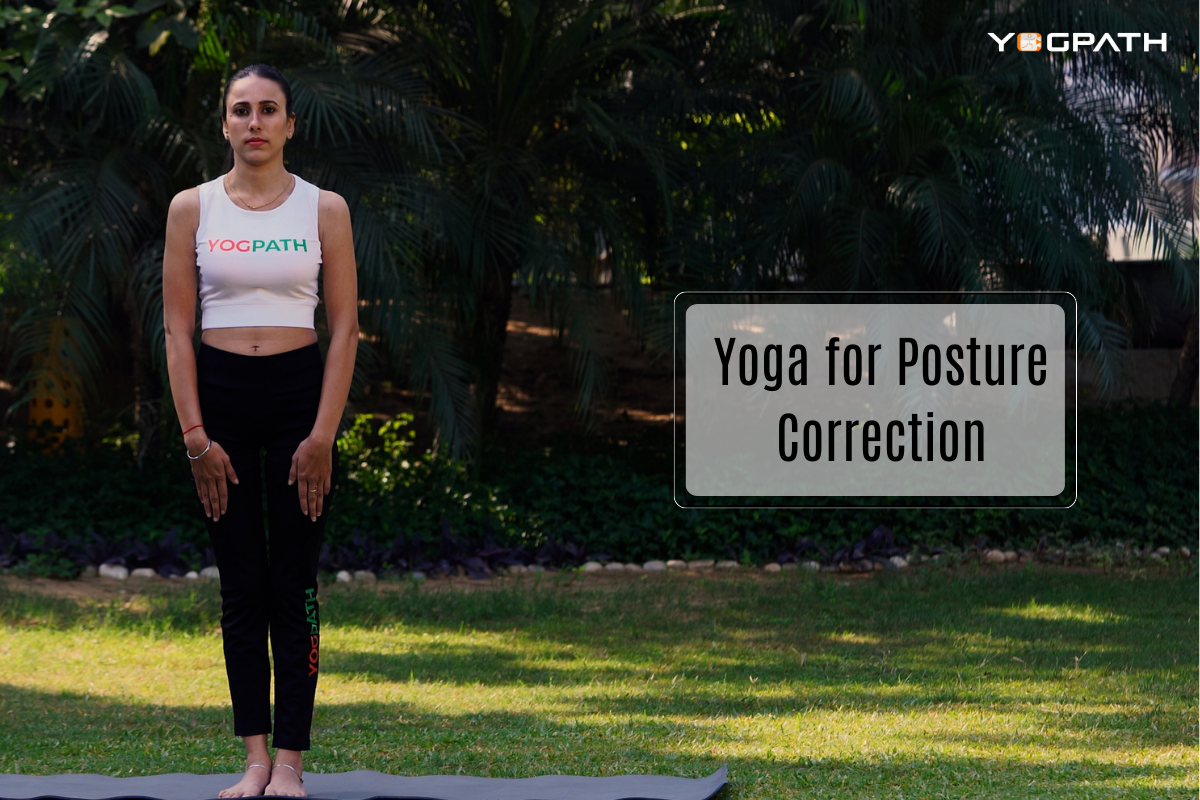
- Mountain Pose is the starting position for all of these exercises (Tadasana).
Toes
Swing them open and shut as if we were attempting to pick up a hanky with our feet. Iterate 5–10 times.
Raise your heels off the ground by shifting your weight onto the balls of your feet, and then let them fall back to the floor. Try it out five to ten times.
Ankles
- To softly flex and point the foot. Do so five to ten times.
- Rotating your ankles in circles is good exercise. Walk in a complete circle, first clockwise and then anticlockwise. Iterate 5–10 times.
Knees
- Holding one knee to your chest, switch to the other leg, and repeat. The recommended time to hold each side is between five and nine deep breaths.
- When you’re done, stand with your feet hip-width apart and bend your knees to stretch your quads. Maintain the position for five to nine deep breaths on each side.
- If you find it difficult to balance on one leg, feel free to lean against a wall or a chair.
- Malasana, or the yogic squat, is a great way to strengthen your legs and knees.
- Yogic squats will mobilize your hip, knee, and ankle once you’ve activated them separately. Be mindful of how flexible your body is.
- If squatting to the floor is too much for you, just get halfway there. You may also try rolling up a little mat and using that beneath your heels instead. You can improve your ability to sit in the classic Indian squat by using any of the adaptations shown below.
- Malasana, or the Yogic Squat Pose, may be adapted such that it strengthens and protects the knees and ankles.
Hips, the Middle Body’s Joints
Shishupalasana, or the “Baby Cradle” pose, is great for easing stress on the hip flexors. While seated, lift your right leg and bring it in toward your chest until your shin is horizontal. Your right elbow should become a cradle for your knee, and your left elbow should hold your foot. Flex and extend your knee. Do this on one leg 5-10 times and then switch.
- Hands, Wrists, and Fingers
- Make a fist and then open your hand. Do so five to ten times.
- Make a fist, tuck your thumb inside, and rotate your wrists in both directions. Do so five to ten times.
Elbows
Attempt some sets of elbow curls. Keep your arms outstretched, parallel to the ground, and bring your fingers up to your shoulder by bending at the elbows. Do so five to ten times.
- Do the same in front of yourself with your arms.
- Shoulder and Upper-Body Joints
- You can do a shoulder rotation with bent or straight arms. Do so five to ten times.
Some alternative shoulder-engaging strategies are as follows:
Neck
- As you shift your gaze from side to side, you should also adjust your breathing to match the rhythm of the motion. Do so five to ten times.
- While maintaining a straightforward stance, tilt your head such that your right ear is pointing near your right shoulder. (Remember that your ear’s typical range of motion does not include touching your shoulder, so don’t bother trying.)
- Flip it over and do it again. The recommended time to hold each side is between five and nine deep breaths.
- The cervical spine is a highly sensitive region, so please move with caution. Do them carefully while staying vigilant and aware. We hope there isn’t a catch!
Conclusion
Mindful movement and occasional postural shifts are great methods to keep our joints safe. These simple, low-impact joint motions are a great approach to including therapeutic exercise in your day. They are simple to learn and practice, and they have many health benefits, including increased blood flow, less stress, and a calmer nervous system. These stretches are ideal for pre-yoga warm-ups. Continue to take care of yourself and have a positive outlook.
