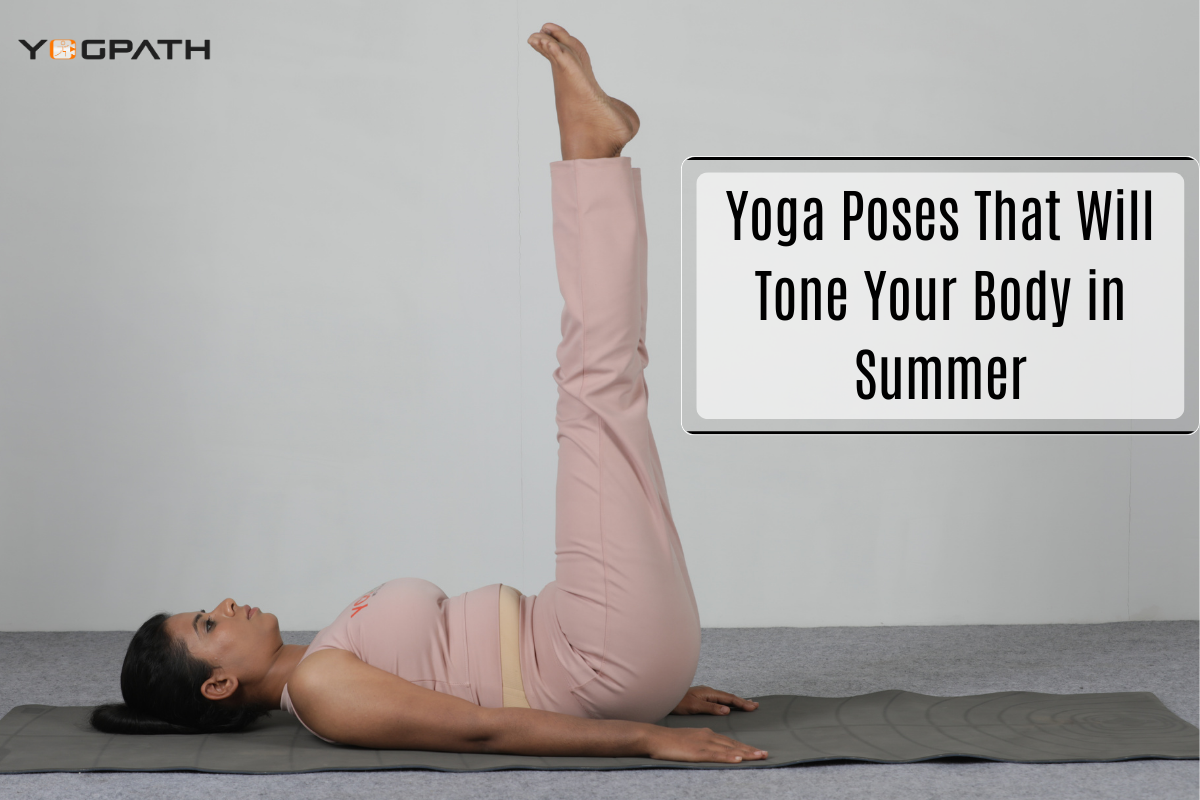
Yoga Poses That Will Tone Your Body in Summer
With the sun shining brighter and the temperature rising, you’re more than ready to shed your winter layers and don your swimwear. While it’s true that no matter your shape or size, you’ve got a bikini body, a little exercise in the summer can do wonders for your outlook, vitality, and self-esteem. And if you’re hoping to make some improvements to your strength and flexibility this summer, you may do it without spending a tonne of time at the gym.
Yes, you read that properly, there is another option to grow stronger that doesn’t involve a super-heavy pair of dumbbells. Just one word: Yoga. We’ve compiled a set of yoga poses (asanas) that will leave your body feeling supple, flexible, and ready to take on the world this summer. Ultimately, that’s the point, right?
Downward-Facing Dog Yoga Pose
Downward-Facing Dog Yoga Pose: Shoulders, hamstrings, calves, arches of the feet, and hands all get a nice stretch in a downward dog, which also helps tone and develop those muscle groups.
- To perform this, start in mountain pose (a standing posture) and bend your knees to bring your hands to the ground.
- Bring your hands up a good three or four feet in front of your feet as you shuffle along.
Lift your hips toward the ceiling as you press into your palms and try to flatten your heels (keep a slight bend in your knees to help your heels get closer to the ground).
Keep looking down at your legs and pressing your chest into your thighs to get a beautiful, flat back position.
Plank Yoga Pose
The benefits of holding a plank position include improved muscle tone in the deltoids, abdominals, and quads.
- To complete a high push-up, rise onto your tiptoes from a downward dog and roll over your toes.
- Tend this position for a few full breaths, ensuring that your wrists are squarely under your shoulders, your heels are pointed upwards, and your hips are down and in line with the rest of your body.
- Maintain a focus on a point just in front of your fingers while tightening your abdominal muscles and activating your core. Your head, neck, and back should form a straight line.
Forearm Plank Yoga Pose
The benefits include improved deltoid tone, abdominal wall engagement, arm and leg strength, and stretching of the shoulders, hamstrings, calves, and arches.
- Start in a plank posture, then slowly drop one arm to the ground while keeping the other arm and elbow pressed firmly into the ground.
- Spread your collarbones apart from your sternum and firmly press your shoulder blades on your back.
- Keep your spine in a straight line, using your abdominal muscles, and focus your eyes on your fingertips on the floor.
Chaturanga Yoga Pose
Benefits include improved grip strength, tighter and toned abdominal muscles, and stronger arms and wrists.
- Assuming a standard or high plank posture, lower your body until your chest is just over the floor and your legs are parallel to it.
- Draw the pubis toward the navel and widen the space between the shoulder blades while maintaining a forward look and inward elbows that point back behind you.
- Don’t let your legs just hang there; keep them moving and engaged in this stance.
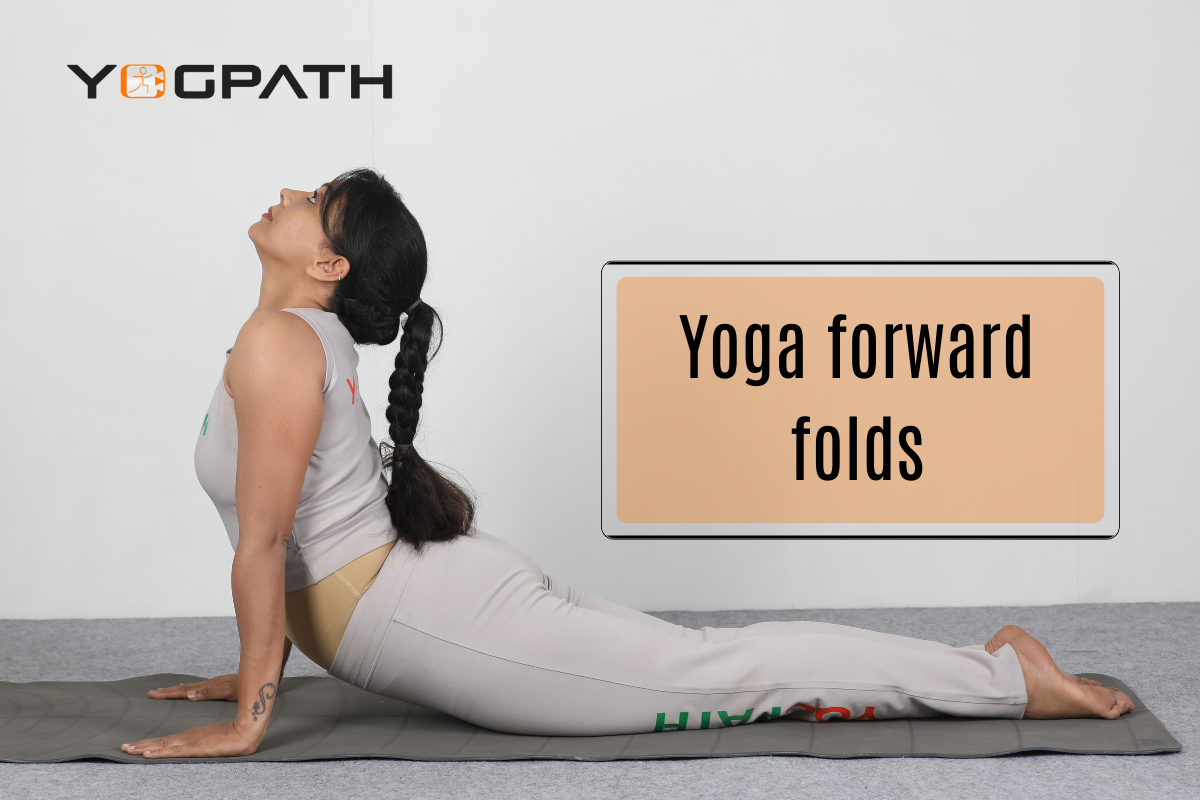
Cobra and the upward dog Yoga Pose
Benefits are enhanced, abdominal organs are stimulated, the buttocks are toned, and the chest, lungs, shoulders, and arms are all stretched.
- First, come down onto your belly or practice chatturanga to lower your body toward the ground; next, push your palms firmly into the mat at your chest.
- Keep your hips firmly planted on the floor as you roll your shoulders back and begin to lift your chest off the mat; maintain a tiny bend in your shoulders to prevent injury.
- You can stay in this cobra position or, for an even more invigorating stretch, straighten your arms while you lift your thighs and knees off the floor, pressing into the palms and tops of your feet, and looking up.
- This is the upward-facing dog position.
Locust Yoga Pose
It Strengthens the Spine, Buttocks, and Backs of Arms and Legs, Stretches the Shoulders, Chest, Belly, and Thighs, Improves Posture, and Engages Abdominal Muscles.
- To get started, get down on your belly with your forehead on the ground, arms at your sides, and palms facing up.
- Inhale deeply, then exhale while lifting your head, upper body, arms, and legs off the ground.
- Extend your buttocks and knees, and reach down to your toes. Try to keep your eyes down and slightly forward.
- You can either keep your arms extended toward your feet or clasp them behind your back, interlacing your fingers, to further raise your chest off the ground as you roll your shoulder blades back and down.
Boat Yoga Pose
Several muscle groups get a good workout in boat pose, including the abdominals, back, neck, quads, and hamstrings, which brings us to benefit number seven.
- Place your feet firmly on the floor in front of you while you sit on your mat with your knees drawn up to your chest.
Holding behind the knees, raise the feet until the shins are parallel to the floor, and keep the rest of your body almost vertical. - It’s up to you whether you keep your hands on the back of your thighs or let go and stretch your arms out in front of you.
- Try stretching out your legs and arms upwards for an added challenge.
Warrior I Yoga Pose
Advantages include strengthening the shoulders, arms, back, thighs, calves, and ankles and stretching the chest, lungs, shoulders, neck, belly, and groin.
- Step your feet out to a distance of 3.5 to 4 feet and come into the mountain position.
- Keep your weight on your front heel, and turn your rear foot out 45-60 degrees (should be pointing towards the top corner of your mat).
- Bend your front knee till it is directly over your ankle, and square off your hips as much as possible with the front edge of the mat as you raise your arms overhead.
9 Warrior II Yoga Pose
Advantages include a more flexible spine, stronger shoulders, arms, and legs, and a wider hip range of motion.
- When transitioning from Warrior 1 to Warrior 2, maintain your front knee bent as you twist your rear foot so it’s parallel with the back of your mat.
- At the same time, spread your fingers wide so your hands are reaching in different directions.
- Extend through the fingertips and press the shoulders away from the ears as you swivel your hips so that they face the side of the room.
Warrior III Yoga Pose
The advantages include strengthening the ankles, legs, shoulders, and back, toning the abdominals, and improving balance and posture.
- Once in a high lunge stance, reach your arms aloft and move your upper body back forward from warrior
- This action will cause your back foot’s heel to rise off the ground. Keep your arms up as you move your weight forward, kicking off your front leg and extending your rear leg straight behind you.
- While balancing on your front leg, stretch your back toes down towards the ground so that your body forms a single straight line from your fingers to your head, back, and toes.
- Keep looking down a few inches in front of your supporting foot.
Half-Moon Yoga Pose
The groin, hamstrings, calves, shoulders, chest, and spine are all stretched while the lower back, upper back, glutes, hamstrings, and obliques are strengthened.
- Warrior 2 entails bending the front knee and bringing the rear foot forward 6 to 12 inches.
- Concurrently, straighten your supporting leg and extend your rear leg behind you, while reaching your front hand about 12 inches forward of your front foot and allowing your fingertips or hand to drop down to the ground.
- If you want to expand your hips and chest as much as possible to the side of the room, keep flexing your back foot and raising your raised arm towards the sky.
- The problem increases if the eyes are forced to go from looking down at the ground to looking straight ahead or up at the sky.
Exercising in the Tree Yoga Pose
The groin, inner thighs, chest, and shoulders get a good stretch while you strengthen your legs and lower body.
- After coming into the mountain position, bring your right knee toward your chest by interlacing your fingers there.
- Here, you’ll want to clasp your ankle and press your foot inward on the inside of your standing leg, either high on your thigh or low on your calf.
- Put your hands together at your chest in prayer, or reach upward, forming a tree out of your arms.
- Avoid injuring yourself by putting your foot squarely on your kneecap, since this is a common place for people to forget to avoid.
Bridge to Wheel Yoga Pose
The benefits include a more robust upper back, glutes, and hamstrings.
- While lying on your back, with your arms at your sides, pull your heels as near to your buttocks as you can, and bend your knees to put your feet on the floor. Raise your hips off the ground and up toward the ceiling while pressing your palms into the ground.
- You may either roll your shoulder blades beneath you and make a fist with your hands or hold this position for 4 to 8 breaths as you keep pressing through your feet and rising your hips as high as you can.
- Roll your spine down to the floor one vertebra at a time as you release your hands. Select a complete wheel if you want to increase the difficulty. Continue from where you left off, with your knees bent and your feet firmly planted on the floor.
- Bring your hands behind your back, bend your elbows, and put your palms on the ground so that your fingers face in toward your body and your elbows face up.
- Raise your hips toward the ceiling as you press your palms together and rise onto the crown of your head.
- Slowly start to straighten out your arms as you elevate your head away from the ground, remembering to lift through the chest and press through the feet as well. After 4–8 breaths, release by curling the chin into the chest, bending at the elbows, and lowering the body back to the ground.
Headstand Yoga Pose
Advantages include improved muscle tone in the legs and lower torso, as well as strengthened arms, legs, and spine, and toned abdominal muscles.
- Begin on hands and knees, in a tabletop position. Place your forearms on the ground and interlace your fingers as you clasp your hands.
- Keep your fingers interlocked and open your palms to make a basket in which to rest your head.
- Arrange your head such that the top is resting on the floor and the rear of it is tucked into your hands.
- Take a deep breath and lift your knees off the floor. By keeping your weight on the balls of your feet, you may walk in an inverted “V” formation with your body. Firm the shoulder blades and pull them towards the tailbone, elongating the front torso.
- You may either jump your feet off the ground softly or elevate one leg up and overhead at a time from this position.
- Continue to breathe and work through the forearms, core, and legs as you hold your headstand. Beginners should hold for roughly 10 seconds, progressively adding 5 to 10 seconds each time you practice.
